Tuesday, 31 March 2015

The 'just so valley' - the Vallon de Rechy

Just so...
Why call it the 'just so valley'? Well it's just so - consistently amazing, beautiful, untracked, quiet, remote, varied, huge and long... as is the list of words which describes how much I love this valley. Throughout winter we've had some amazing journeys, whichever route we've taken, and there are lots.

Here's a small collection of images from this and previous years ski days. It's not bad in summer either...
Great skiing
Wonderful views

Magical, even on a grey day

Makes a great day tour

For more images see our FaceBook page - here are a few links to some of our Vallon de Rechy days

www.facebook.com/media/set/?set=a.1045216575493610.1073741881.232723673409575&type=3

https://www.facebook.com/media/set/?set=a.1038136209534980.1073741880.232723673409575&type=3

https://www.facebook.com/media/set/?set=a.822418427773427.1073741862.232723673409575&type=3

https://www.facebook.com/media/set/?set=a.622151517800120.1073741826.232723673409575&type=3

https://www.facebook.com/media/set/?set=a.587871347894804.147912.232723673409575&type=3

Thursday, 19 February 2015

Below 30 degrees

Skiing powder on low angle slopes
Below 30 sounds parky but in fact I'm thinking slope angle. This season there's already been an extraordinarily high number of skiers killed by avalanches. Many could have been avoided with better awareness and education in what causes slopes to slide.

One rule that's easy to follow is to keep to gentle terrain. Slopes less than 30 degrees in angle are generally unlikely to slide. But remember, look at what's above you too, even if your on the gentle stuff vibrations can ripple through the pack and break those weak layers in the steeper terrain above causing it to slide.

So how to tell the slope angle:

Topographical maps with winter routes,  have terrain over 30 degrees shaded in pink. For Switzerland there's an excellent range of 1: 50 000 produced and available from www.swisstopo.ch

Pink shaded steep slopes on the swisstopo maps

You can go online to use the excellent interactive mapping site with more detailed shading
www.map.geo.admin.ch

You can also attach an inclinometer to your ski pole. Then you simply lay your pole on the ground and see what angle it says. There are also poles with it already built in - K2 have an adjustable carbon pole - (LockJaw £95) unfortunately it measures from 30 - 50 degrees so if you can see the bubble your on the wrong slope...

Built in inclinometer on the K2 LockJaw ski pole

Monday, 26 January 2015

Giant ice maker - Zinal Glacier

The perfect G n T made with glacial ice and a slice
How far will you go to put some ice in your drink? Well the other day we headed off to search for the most perfect lump of frozen water we could find -  layers of snow, crushed over hundreds of years into a beautifully clear lump of turquoise ice. This natural ice maker was the snout of the Zinal Glacier.

A 5km walk from Zinal following the Navisence towards the Pointe de Zinal 
The ice caves at the snout of the Zinal Glacier
Inside the ice caves
Five icy masses - the Glacier du Cornier, Bouquetins, Durand, L'Obergabelorn and Mountet - creep down from the head of the valley and merge together to become the Zinal glacier. From the village, it's a 5 km walk south, following the Navisence river to its source - the turquoise blue ice caves at the snout of the glacier. These days it's 1.7 km further than it was 120 years ago, but the extra walk is definitely worth it.
Fifty shades of blue
The most perfect lump of ice

Wednesday, 10 December 2014

Snow - making it happen

Snow making 

After an unusually wet summer, autumn was long, warm and relatively dry. Finally, temperatures have dropped and winter is creeping in, but the 'good' weather has continued, so not much snow. But at least it can now be made, which is exactly what's been happening.

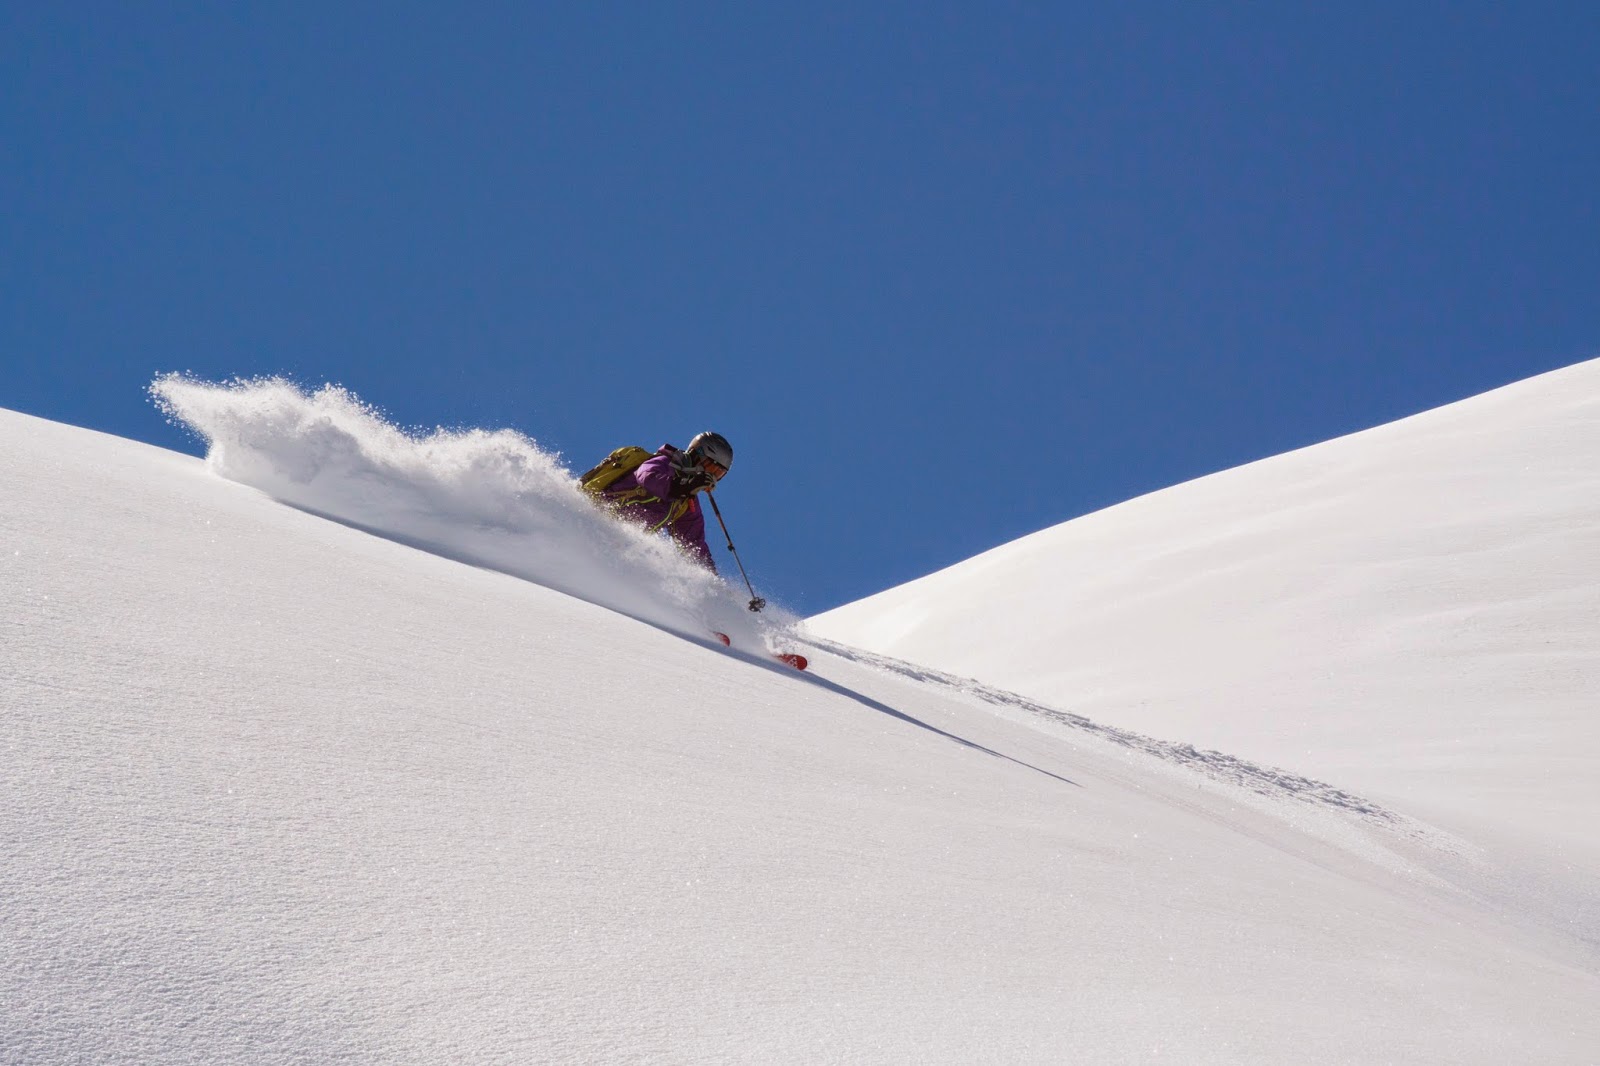
For the last week or two all across the alps and around this valley, snow cannons have been drawing thousands of k-joules of electricity to pump and mix water with air, atomising the water into droplets which, when jetted into the freezing air form ice crystals. Over the years snow making techniques have improved so it's now less icy and comes pretty close to feeling like the real thing.

But it comes at a price:
To cover 100m x 100m's to a depth of 30 cm you need 3000m3 of snow, made from 1.3 million litres of water.
The estimated cost for 1m3 of snow is about £5 (chf 7.50) so the above 10,000m sq would cost about£15,000 (chf 22,000).

To put this into a context, a piste 60m wide and 800m long will cost around  £72,000 (chf 105,600) - that's a lot of ski passes and all you've got is a pile of snow. You then need piste machines to spread it around and the lifts to get people up the mountain....

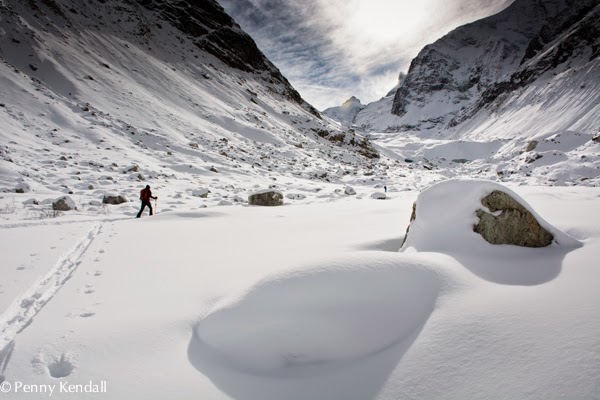
And of course there's the cost to the environment - the extra energy used, water drained from reservoirs and other water sources and the extra water when it melts - which isn't just when spring arrives. The snow they made in November all melted on the lower slopes because it was so warm, but higher up the snow making is putting down a good base so for the Christmas guests things are looking 'al-white'.


Figures are based on information in the following articles:
www.theguardian.com/science/2014/nov/07/snow-climate-change-effect-on-skiing
www.mtbuller.com.au/Winter/Snow-Report/Snow-Making
www.adventure.howstuffworks.com/outdoor-activities/snow-sports/snow-maker.htm

Friday, 24 October 2014

Turning the clock back

Inside Zinal's 'Peasant-House' Museum
The villages of the Val d'Anniviers contain buildings dating back to the 16th century. Until 50 years ago life was lived in much the same way as it had been for hundreds of years. This film was shot in Zinal in 1967 but it could have been 200 years earlier.
Main living and sleeping room 
Part of the valley's charm lies in the old wooden buildings whose beams have been blackened by the weather over the years. Several houses in the valley have been preserved as museums and display collections of furniture, tools and photographs which show how life in the valley once was.
Cuttlery and wooden platters
Zinal's museum, pictured here, dates back to 1768. There's an outer store/workshop and kitchen area with steps that lead up to the main living room where the whole family slept in 3 truckle beds stacked one above the other by day. You can see daylight through some of the walls and even with the soapstone stove going, it must have been chilly in winter. You can imagine people living under those conditions in the middle ages but the fact that the last inhabitants lived here into the 1960s seems quite extraordinary.
Milking stools
Straw bonnet fixed to the mould awaiting final ribbon
Outside and downstairs is the cellar which was shared with the neighbour who lived above, and where the family stored their food and wine. Now it displays old photographs and a collection of agricultural tools.
Cooking corner
Tools, skis and workbench stand in the opposite corner to the hearth
Pebbles cover the floor of the 'cave' where more old tools are displayed 
Many thanks to l'Association des Amis du Vieux Zinal who look after  the 'Ancienne Maison d’Habitation, Musée'.  

In Vissoie and Ayer there are similar houses that can also be visited during the summer months: www.valdanniviers.ch/tourism/museums-exhibitions.html

Wednesday, 17 September 2014

Moiry Via Ferrata


Wonderful views across to the Moiry Dam
We finally got to try our local via ferrata route on the crag next to the Moiry dam. It's a 230m piece of cliff which looks insignificant from afar but once up on the rock gives a sense of airiness along with great views.

It's a long way down and I've only just started...
The route starts with a D+ (difficult +) grade but then branches - you can continue along the same grade, or opt for a harder TD (very difficult) or easier options - AD (fairly difficult) or F (easy). The climbing is almost entirely done using metal staples for hand and foot holds - a system used a lot on the via ferrata routes in France. No one's pretending to climb the rock here.
Most of the route uses staples for hand and foot holds
In addition to the main climbing routes there are options to cross a 70m bridge suspended 100m above the ground, or (new this year) climb a 30m metal scrambling net; if you're with a guide who has the key for it, you can do the massive tyrolienne zip-line.
View from the bridge
For more information visit the following sites:
www.valdanniviers.ch/tourism/moiry-ferrata.html
www.sites.google.com/site/viaferratatrail/moiry

Yes, there really is a picnic table on a ledge at point 10....

The various routes and levels of difficulty 

Tuesday, 2 September 2014

Redcurrant Jelly fest

We left redcurrant picking till later this year - what with all the rain this summer things took a little longer to ripen. But it was worth the wait. The berries were plentiful, large and deep ruby in colour. In total we picked 12kg of fruit - freezing 2/3rds and making 4 lge jars and 3 smaller jars of jelly from the rest.

12kg of redcurrants picked on just one day
The best jelly recipe.

It's an old recipe so I use imperial measurements as it makes life a lot simpler. Redcurrants are high in pectin so setting is never a problem - that being the case you can use granulated sugar.

  • Wash the berries - there's no need to remove them from the stalks - discard leaves and other debris.
  • Place berries in a large pan - for every 3 lb of fruit add 1 pint of water.
  • Simmer gently for 30 minutes until the fruit is really mushy.
  • Line another large saucepan with a cloth or jelly bag, and pour cooked berries into the cloth.
  • Tie the cloth up, and raise it so the juice can run freely into the pan below.
  • Leave this to strain overnight.
  • Discard the contents of the cloth.
  • Measure the juice extract. For every 1 pint of juice add 1 lb of sugar to the pan.
  • Heat gently, stirring until the sugar has dissolved.
  • Bring to the boil and boil rapidly for 15 minutes.
  • Test for set. (Take a saucer that's been in the freezer, drip some jelly onto it and leave for a minute. If it crinkles when you run your finger through it then its reached setting point).
  • Remove from heat.
  • Skim off scum with a slotted spoon.
  • Pour jelly into clean sterilised jars. To sterilise your clean jars place in oven for 20 mins at 130 - remove from oven and pour jelly into warm jars. Put the lids on straight away.